

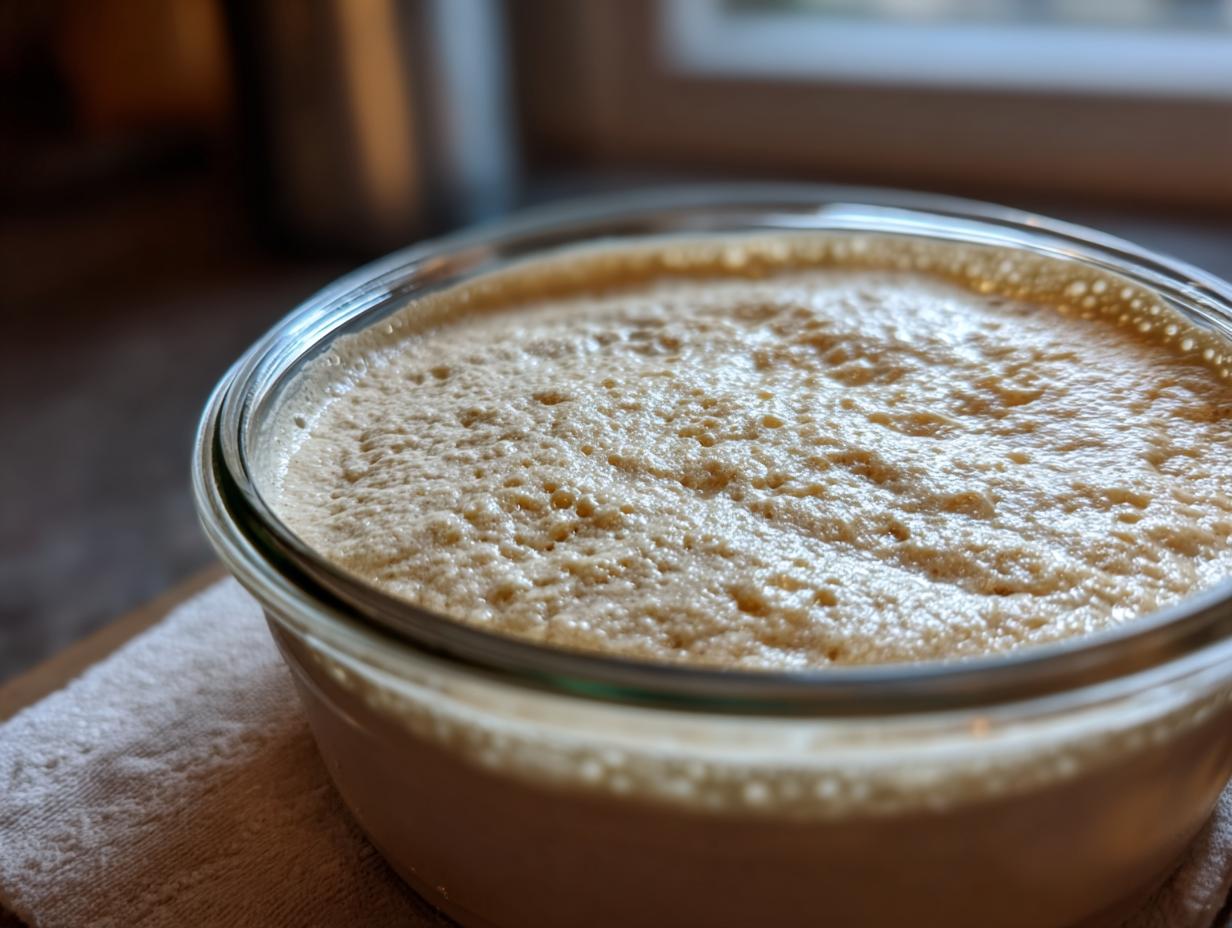
There’s something truly magical about baking with a sourdough starter, isn’t there? It’s like tapping into an ancient secret, a little jar of wild yeast that transforms simple flour and water into the most incredible, tangy bread. I remember when I first felt that pull to create my own starter, that desire for that authentic, crusty loaf you only get from a truly homemade sourdough starter. It felt a bit daunting at first, but honestly, it’s one of the most rewarding things you can do in the kitchen! This guide is born from so much passion and countless hours of testing, all to give you the clearest, most reliable way to cultivate your very own bubbly, active starter. Get ready to unlock a whole new world of bread making!
- Why You'll Love This Homemade Sourdough Starter
- Ingredients for Your Sourdough Starter
- How to Make a Sourdough Starter: Step-by-Step
- Tips for Sourdough Starter Success
- Storing and Maintaining Your Sourdough Starter
- Frequently Asked Questions About Sourdough Starter
- Estimated Nutritional Information
- Start Your Sourdough Journey Today
Why You’ll Love This Homemade Sourdough Starter
Honestly, making your own feels *so* good! You’ll get:
- Incredible flavor development for the best artisan bread.
- That satisfying, chewy texture you dream about.
- The confidence that comes from mastering a traditional skill.
- Plus, it’s way easier than you think!
Ingredients for Your Sourdough Starter
You really only need a couple of simple things to get this wild yeast party started! Here’s what you’ll need:
- 1 cup all-purpose flour
- 1 cup lukewarm water
A quick note on ingredients, though! For the best results, I really love using unbleached all-purpose flour. And when it comes to water, if your tap water has a strong chlorine smell, I’d suggest going with filtered or bottled water. Chlorine can sometimes mess with those sensitive wild yeasts we’re trying to encourage!
How to Make a Sourdough Starter: Step-by-Step
Alright, let’s get our hands a little messy and make some magic happen! Starting your own sourdough starter might seem a little involved, but trust me, once you get the hang of the daily feeding, it becomes a super calming ritual. Just follow these steps, and you’ll have a happy, bubbly sourdough starter ready for some seriously delicious bread.
Initial Mixing for Your Sourdough Starter
Grab a clean glass jar – a quart-sized one is usually perfect. In it, mix together 1/2 cup of that unbleached all-purpose flour and 1/2 cup of lukewarm water. Stir it all up really well until there’s absolutely no dry flour left. It should look like a thick batter. Then, cover it loosely – a lid propped on top or some cheesecloth secured with a rubber band works great!
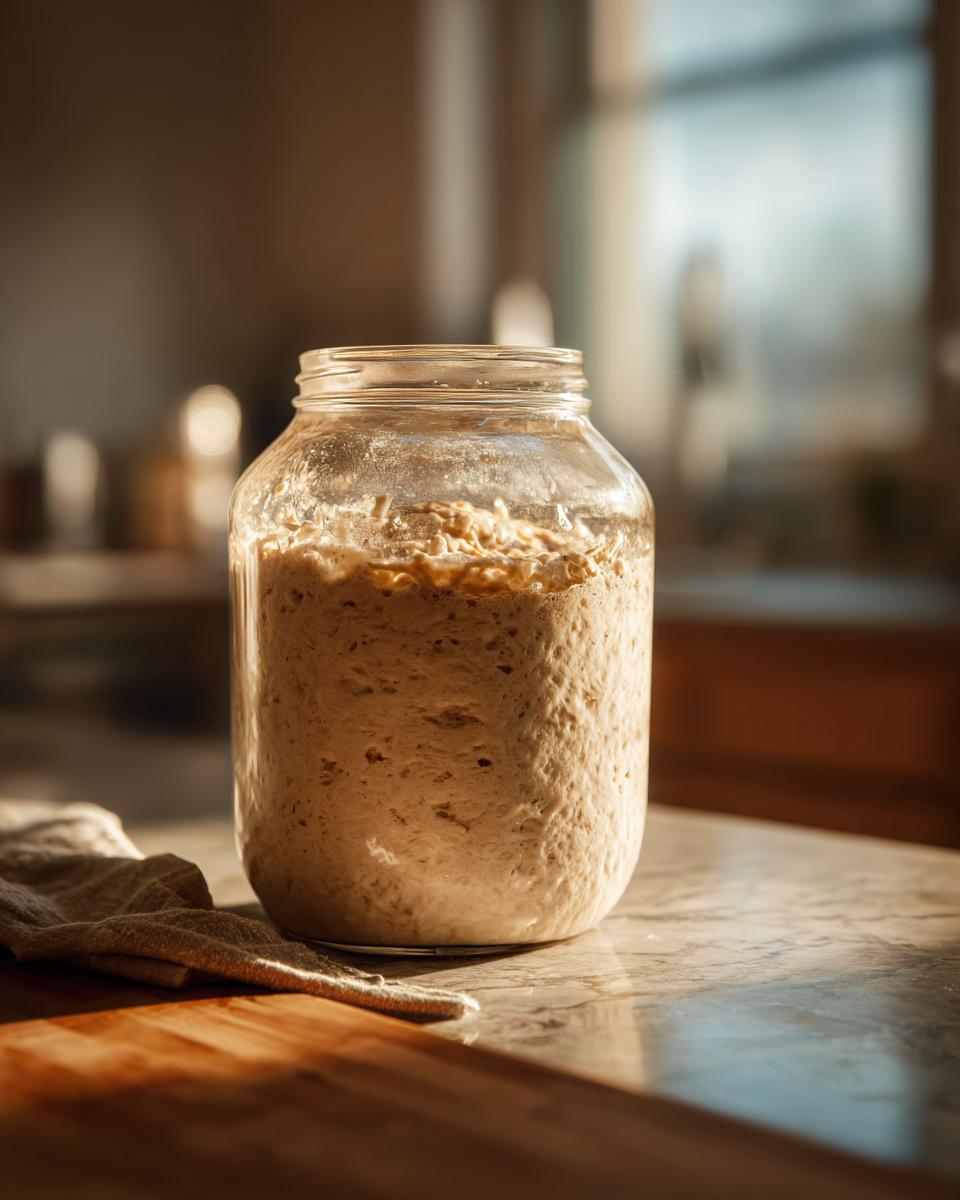
The First 24 Hours: Fermentation Begins
Now, just let your mixture chill at room temperature for a full 24 hours. What’s happening here is the wild yeast that’s naturally present in the flour is starting to wake up and mingle with the water. It’s the very beginning of creating your own wild yeast starter!
Daily Feeding and Discarding
This is the part that happens every single day for about a week or two. After that first 24 hours, you’re going to discard about half of your starter. Yep, it sounds a bit weird, but this keeps things from getting too overwhelming and ensures your new food has plenty of fresh flour and water to munch on. Then, into your jar goes 1/4 cup of fresh flour and 1/4 cup of lukewarm water. Stir it all up again, cover loosely, and let it rest for another 24 hours. You’ll repeat this process daily.
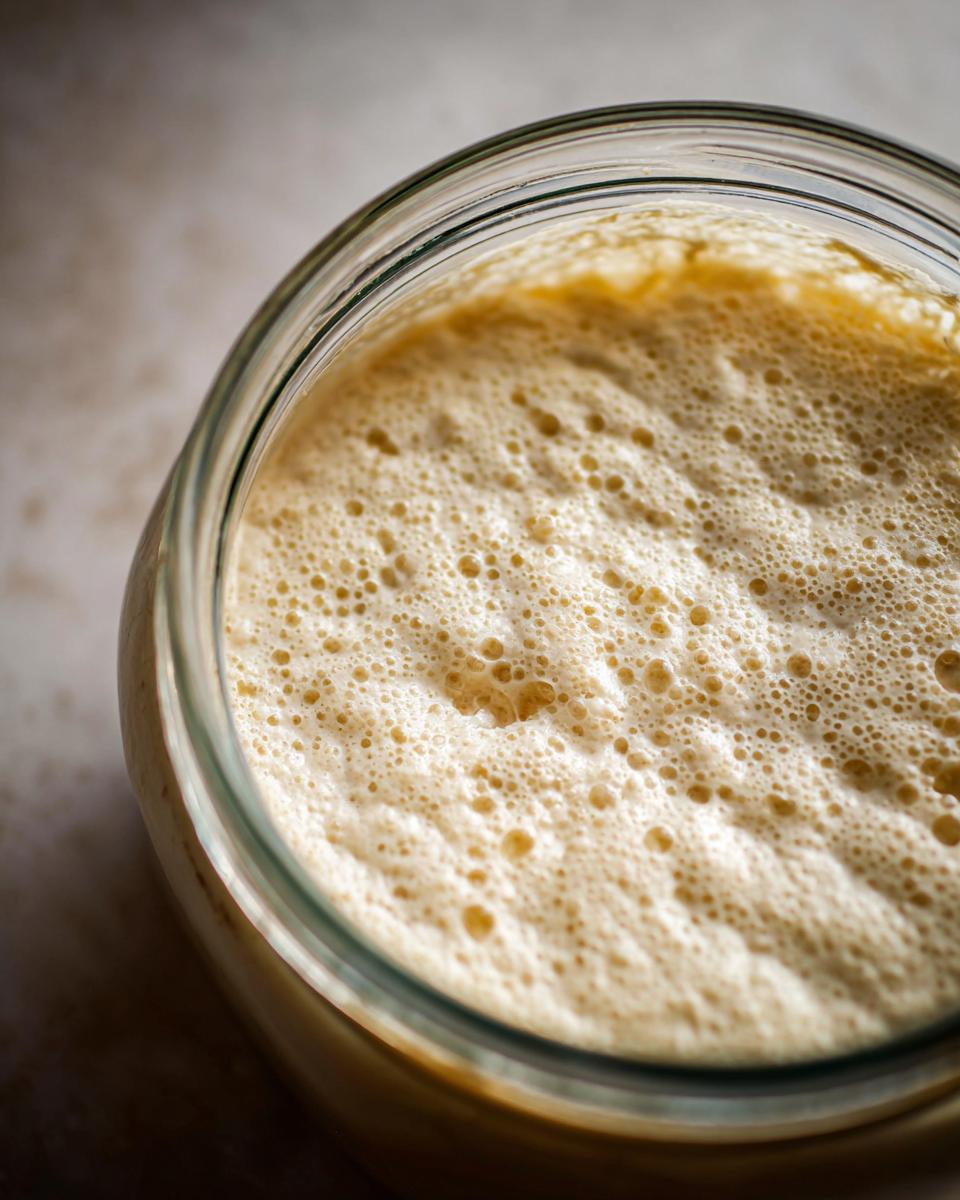
Recognizing an Active Sourdough Starter
So, how do you know when your homemade sourdough starter is ready for its close-up? Keep an eye on it! After about 7 to 14 days of consistent feeding, you’ll start to see it get super bubbly. The real sign is when it reliably doubles in size within a few hours after you feed it. It should also have a pleasant, tangy, slightly yeasty smell – not funky or bad, but wonderfully sour! When you see that, you’ve successfully cultivated your own active starter!
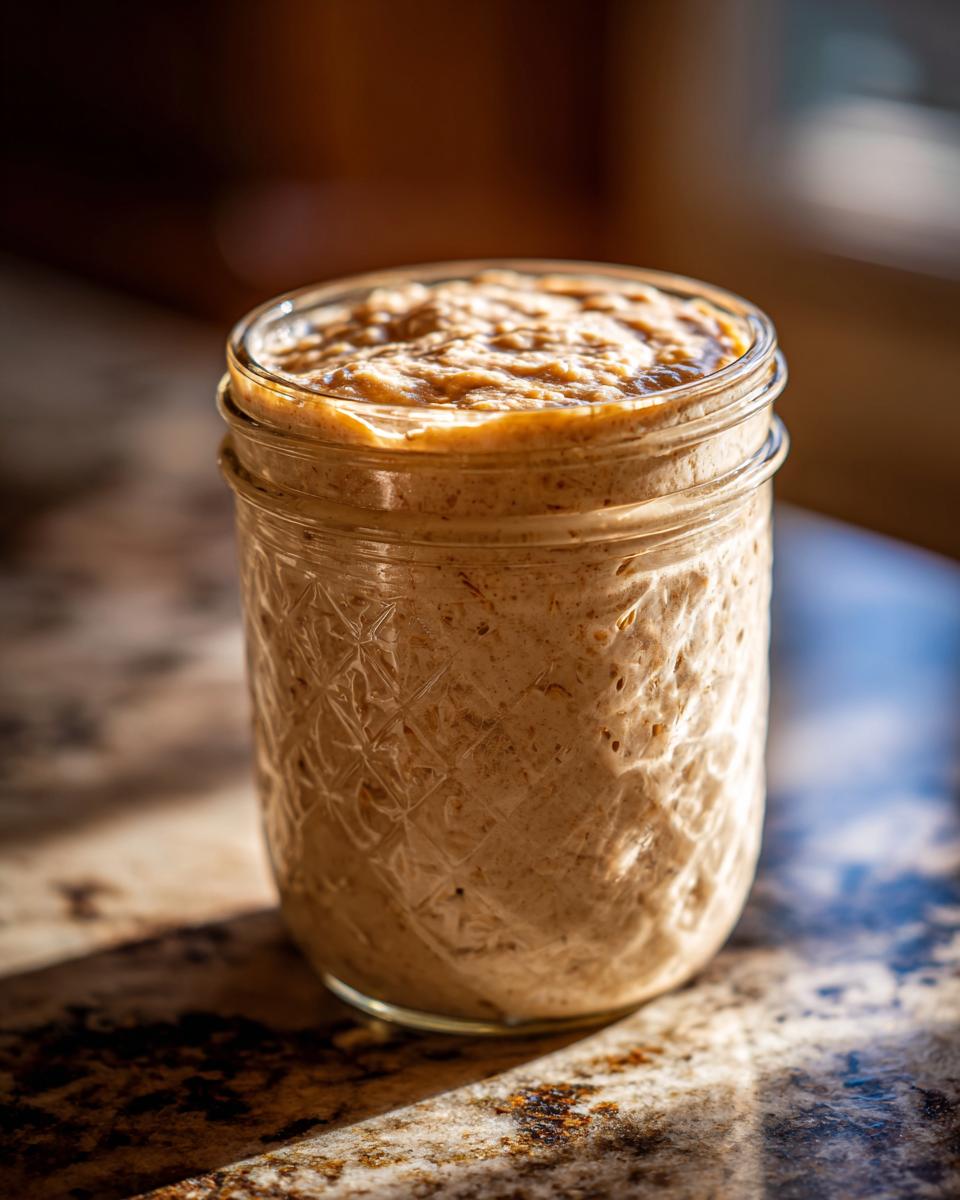
Tips for Sourdough Starter Success
Okay, so you’ve started feeding your little bubbly friend, but sometimes things can be a bit… finicky! Don’t worry, though. A few smart choices can make all the difference between a just-okay starter and a super-powered wild yeast starter. I’ve learned a few things along the way that really help bring your homemade sourdough starter to life!
Flour and Water Choices for Your Sourdough Starter
When it comes to feeding your sourdough starter, the quality of your ingredients really matters. I always reach for unbleached all-purpose flour because it seems to have more of the natural goodness the yeast needs. While all-purpose is great, sometimes mixing in a little bit of whole wheat or rye flour in the initial stages can give your starter a real boost! And remember that water tip? If your tap water is heavily chlorinated, using filtered or even bottled water makes a noticeable difference in how happy your yeasties are.
Temperature and Environment for Sourdough Starter
Your starter is a living thing, and just like us, it likes a comfy temperature! A consistent spot around 70-75°F (21-24°C) is pretty ideal to get your sourdough starter really active. If your kitchen is on the cooler side, try finding a warmer nook, maybe on top of the fridge (but not *too* hot!) or in a turned-off oven with the light on. If it’s too warm, it might ferment too quickly, so just keep an eye on it!
Storing and Maintaining Your Sourdough Starter
Once your precious sourdough starter is nice and bubbly and doubling reliably, it’s time to give it a permanent home! Most folks fall into two camps: keeping it at room temperature for frequent baking or refrigerating it for less frequent use. If you bake bread a lot, like at least once a week, keeping your starter on the counter is super convenient! Just feed it daily, same as you’ve been doing. But if baking is more of a weekend or occasional thing, your fridge is your best friend. Just pop it in there, and it will slow way down. When you decide to bake, take it out, let it warm up a bit, and feed it once or twice at room temperature to get it nice and active again. If you store it in the fridge, you’ll only need to feed your homemade sourdough starter about once a week.

Frequently Asked Questions About Sourdough Starter
What if my sourdough starter isn’t bubbling?
Don’t panic! A sluggish sourdough starter can be due to temperature (too cold!), water quality, or flour type. Try moving it to a warmer spot, using filtered water, or experimenting with a bit of whole wheat flour for a boost!
How long does it take to make a sourdough starter?
Patience is key here! Most homemade sourdough starters take about 7 to 14 days of consistent daily feeding to become reliably bubbly and active. You’ll know it’s ready when it doubles in size after each feeding!
Can I use different types of flour for my sourdough starter?
Absolutely! While all-purpose flour is great for a basic starter, mixing in some whole wheat or rye flour can add extra nutrients and speed things up. Just remember, different flours might change the smell and texture a bit.
Estimated Nutritional Information
Okay, so when you’re feeding your starter, it’s basically just flour and water, right? So the “nutritional value” per feeding is pretty minimal, especially since you’re usually discarding most of it! Think of it more as cultivating something that *makes* amazing nutrition in your bread later on. But for the sake of clarity, here are some super rough estimates per feeding:
- Serving Size: 1 feeding (approx. 1/2 cup)
- Calories: ~0 (basically negligible as it’s mostly flour suspended in water and fermentation is happening)
- Fat: 0g
- Saturated Fat: 0g
- Trans Fat: 0g
- Cholesterol: 0mg
- Sodium: 0mg
- Carbohydrates: 0g (The carbs from the flour are essentially consumed by the yeast during fermentation.)
- Fiber: 0g
- Protein: 0g
These numbers are really just a formality, honestly! The real magic of sourdough starter isn’t in its own nutritional breakdown, but in the incredible, gut-friendly bread it helps you create later. Pretty neat, huh?
Start Your Sourdough Journey Today
Alright, you’ve got all the secrets to creating your very own wild yeast starter! Now it’s your turn to jump in and give it a go. Honestly, there’s nothing quite like the satisfaction of baking that first loaf with a starter you nurtured yourself. I can’t wait for you to experience it! Thinking about other bread adventures? Maybe check out my recipe for easy garlic naan bread or even some traditional Chinese dumplings!
So grab your flour, your water, and that clean jar, and let’s get baking! If you try this, please, please come back and leave a comment below. I’d love to hear all about your starter’s journey – what it smells like, how bubbly it gets, and what amazing bread you bake with it! And if you share your creations on social media, tag us! We’re always up for seeing your delicious results. Happy baking!
PrintHomemade Sourdough Starter
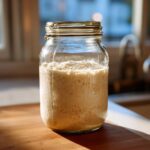
Learn to make your own wild yeast sourdough starter for authentic artisan bread.
- Prep Time: 5 min
- Cook Time: 0 min
- Total Time: 5 min
- Yield: 1 starter 1x
- Category: Baking
- Method: Fermentation
- Cuisine: American
- Diet: Vegetarian
Ingredients
- 1 cup all-purpose flour
- 1 cup lukewarm water
Instructions
- In a clean glass jar, combine 1/2 cup flour and 1/2 cup lukewarm water. Stir until well combined and no dry flour remains.
- Cover the jar loosely with a lid or cheesecloth secured with a rubber band.
- Let the mixture sit at room temperature for 24 hours.
- After 24 hours, discard half of the starter.
- Add 1/4 cup flour and 1/4 cup lukewarm water to the remaining starter. Stir until combined.
- Cover loosely and let sit at room temperature for another 24 hours.
- Repeat steps 4-6 daily for 7-14 days, or until your starter is bubbly and doubles in size within a few hours of feeding.
- Once active, you can store your starter in the refrigerator and feed it once a week, or keep it at room temperature and feed it daily if you bake frequently.
Notes
- Use unbleached flour for best results.
- Filtered or bottled water is recommended if your tap water has a strong chlorine smell.
- Consistency should be like thick pancake batter.
- Signs of an active starter include bubbles and a sour, yeasty aroma.
Nutrition
- Serving Size: 1 feeding
- Calories: 0
- Sugar: 0g
- Sodium: 0mg
- Fat: 0g
- Saturated Fat: 0g
- Unsaturated Fat: 0g
- Trans Fat: 0g
- Carbohydrates: 0g
- Fiber: 0g
- Protein: 0g
- Cholesterol: 0mg