
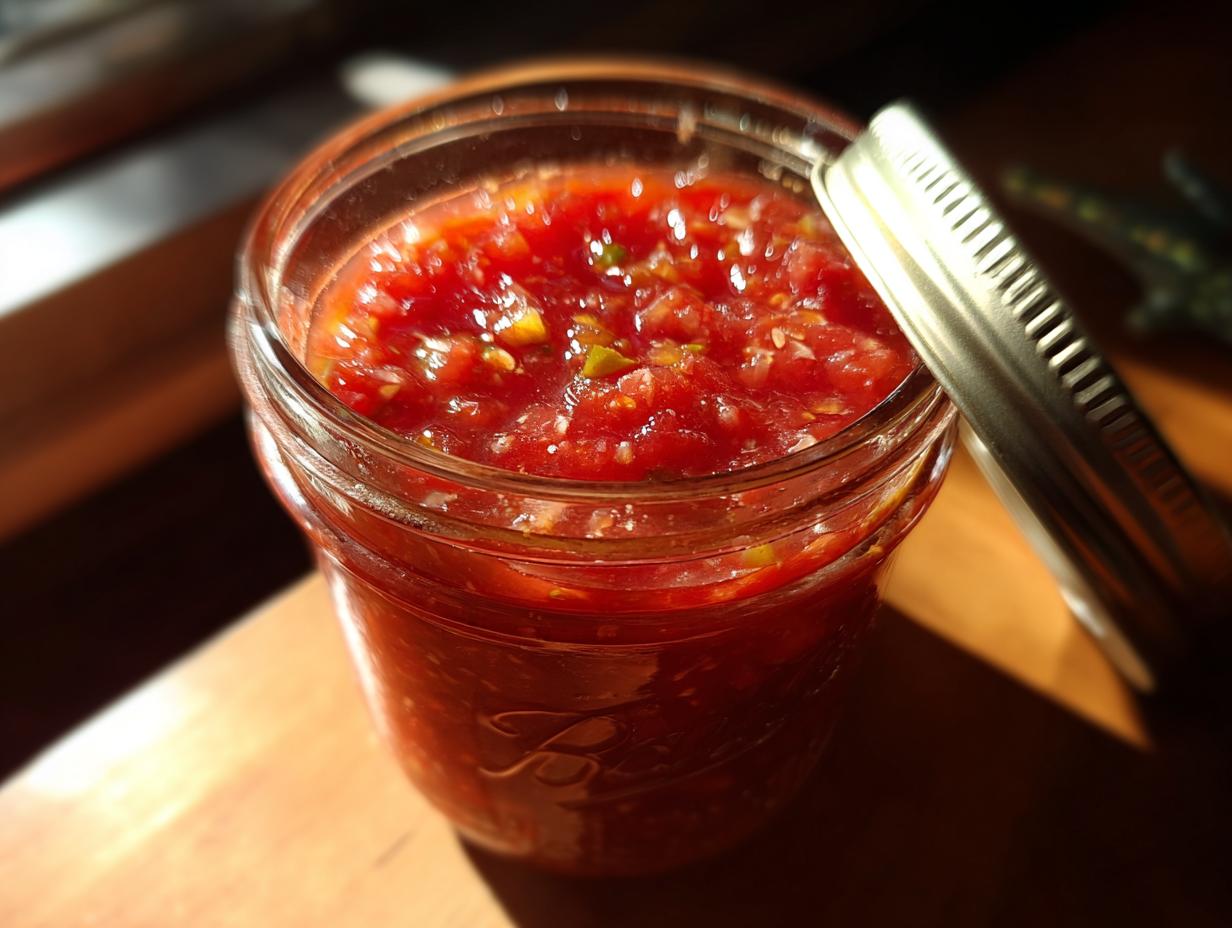
Oh, that moment when your garden is overflowing with ripe, juicy tomatoes! It’s just pure magic, isn’t it? There’s something so incredibly satisfying about transforming that bounty into something delicious that you can enjoy all year long. And what better way to do that than with a fantastic tomato salsa canning recipe? Trust me, this isn’t just about preserving tomatoes; it’s about bottling up sunshine and flavor. My journey with home canning, much like our founder Maddie’s rediscovery of her roots, started with a simple desire to bring good, honest food back into my life. This recipe is our promise to you: a safe, super reliable, and wonderfully flavorful way to make shelf-stable salsa that tastes like summer, even in the dead of winter.
- Why You'll Love This Tomato Salsa Canning Recipe
- Essential Ingredients for Your Tomato Salsa Canning Recipe
- Step-by-Step Guide: Water Bath Canning Salsa
- Tips for Perfect Garden Tomato Salsa Canning
- Ingredient Notes and Substitutions for Your Recipe
- Storage and Reheating Instructions for Pantry Salsa Jars
- Frequently Asked Questions about Tomato Salsa Canning
- Estimated Nutritional Information
- Share Your Homemade Canned Salsa
Why You’ll Love This Tomato Salsa Canning Recipe
You’re going to adore this recipe! It’s:
- Super easy to follow, even if you’re new to canning.
- Packed with fresh, vibrant flavor that tastes way better than store-bought.
- Completely safe, thanks to tested water bath canning methods.
- The perfect way to use up all those gorgeous garden tomatoes.
- A total flavor booster for tacos, chips, eggs – you name it!
- Guaranteed shelf-stable, so you can enjoy it all year long.
Essential Ingredients for Your Tomato Salsa Canning Recipe
Okay, let’s get down to the good stuff – what you’ll need to whip up this amazing salsa! I’ve found that using fresh, good-quality ingredients really makes a difference, especially when you’re canning them. Don’t skimp here, especially on the tomatoes – ripe and flavorful is the way to go!
Here’s what you’ll need for your jars:
- 8 cups peeled, cored, and chopped ripe tomatoes (This is about 4.5 pounds, so grab a good haul from the garden or farmer’s market!).
- 1 cup chopped onions (One medium onion should do the trick).
- 1 cup chopped green bell peppers (About one medium pepper, seeds and all for a bit more flavor).
- 1/2 cup chopped jalapeño peppers (Grab 2-3 jalapeños. If you want it less spicy, just scoop out those seeds and membranes! For extra zing, leave ’em in!).
- 4 cloves garlic, minced (Because, well, garlic!).
- 2 tablespoons lime juice (Fresh is always best here; it adds that perfect tang and helps with preservation. Don’t skip this!).
- 1 teaspoon salt (Kosher or sea salt work great).
- 1 teaspoon dried oregano.
- 1/2 teaspoon ground cumin (Gives it that lovely, earthy depth).
- 1/4 teaspoon cayenne pepper (This is totally optional, for you spice lovers out there wanting an extra kick!).
Seriously, gathering these ingredients is half the fun. It feels so good knowing you’re putting real, wholesome food into these jars!

Step-by-Step Guide: Water Bath Canning Salsa
Alright, let’s get down to the nitty-gritty of making your beautiful salsa shelf-stable! Canning can seem a little intimidating at first, but honestly, once you get the rhythm down, it’s super rewarding. It’s all about being prepared and following a few key steps to make sure your salsa is safe and tastes amazing for months to come. Think of it as putting a little piece of summer sunshine into a jar for later!
Preparing Your Canning Supplies
First things first, let’s get everything ready. You’ll need your big water bath canner, of course. Fill it about halfway with water – enough so that the jars will be covered by at least an inch when they’re all in there. Get that water simmering gently now; you don’t want it just sitting there cold when hot jars go in. While that’s heating up, make sure all your pint jars, lids, and bands are sparkling clean. I like to wash mine in hot, soapy water and then just let them sit in the canner while the water heats up; nice and hot means less chance of a jar breaking when you add the hot salsa. Sterilize those lids according to the manufacturer’s instructions too – usually a quick simmer in water does the trick. These steps are super important for safe canning salsa!
Cooking the Homemade Canned Salsa Base
Now for the yummy part! Grab a big pot – seriously, the biggest one you have – and toss in all those chopped tomatoes, onions, bell peppers, jalapeños (remember to remove seeds if you don’t want it too fiery!), and that minced garlic. Add your lime juice, salt, oregano, cumin, and that optional cayenne if you’re feeling brave! Give it all a good stir. Bring this mixture up to a boil over medium-high heat, stirring now and then. Once it’s bubbling away, reduce the heat a bit and let it simmer for about 10 minutes. This lets all those flavors meld together beautifully and also helps the salsa cook down just a touch.
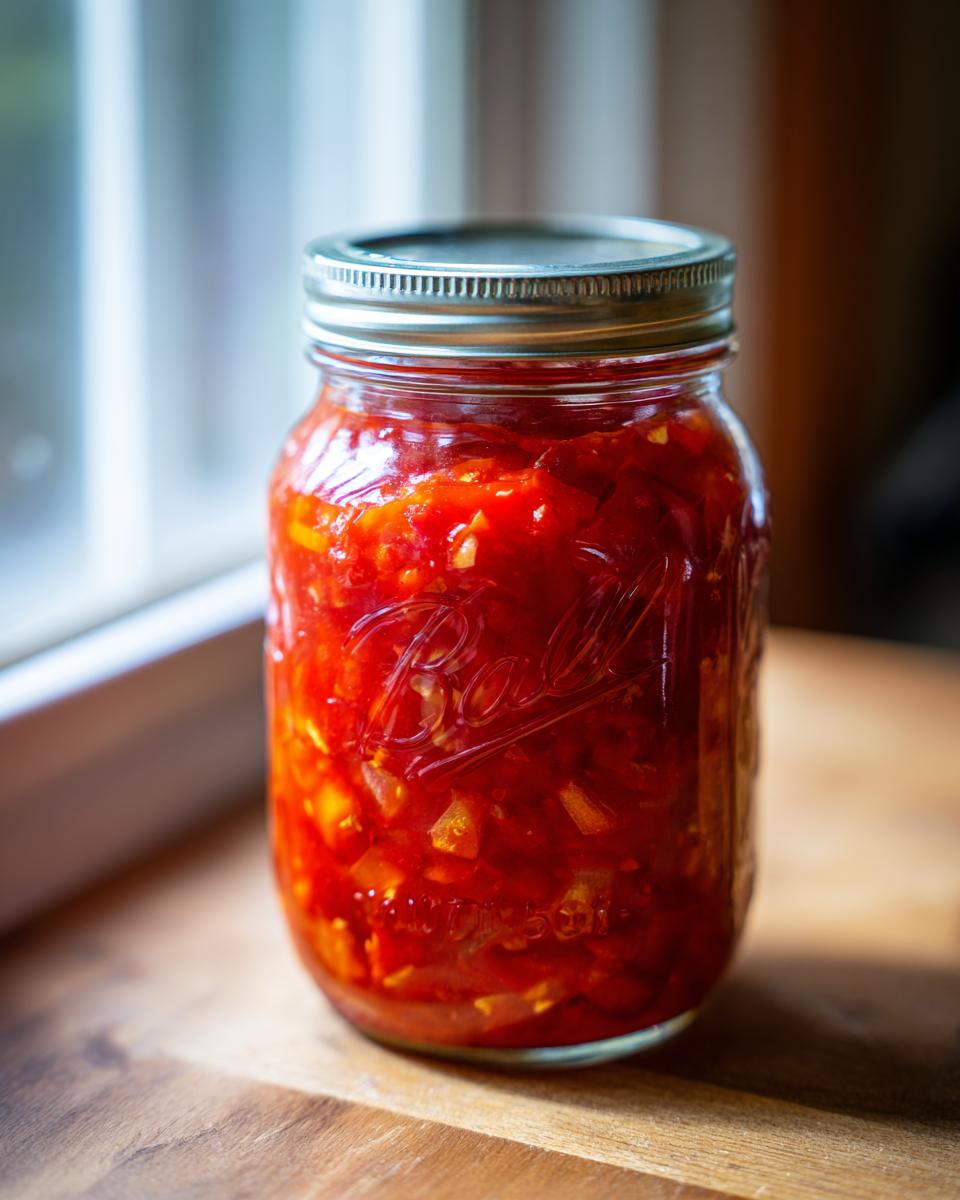
Filling and Sealing Jars for Shelf Stable Salsa
Okay, time to fill those jars! Carefully ladle your hot salsa into your hot jars. This is super important: leave about a 1/2 inch of wiggle room at the top – that’s called headspace, and it’s critical for a good seal on your shelf\_stable salsa. If you get salsa on the rim, wipe it clean with a damp paper towel. This little step makes a BIG difference in getting a good seal. Then, pop on those prepared lids and screw on the bands. Just fingertip tight is all you need – don’t crank ’em down hard, or the air can’t escape during processing.

Processing Jars in the Water Bath
Gently lower your filled jars into that simmering water bath canner using your jar lifter. Make sure they’re all nestled in nicely and that the water covers them by at least an inch. Put the lid on your canner and bring the water back up to a rolling boil. Once it’s boiling like crazy, start your timer! For pint jars, you’ll process them for 15 minutes (if you’re at sea level or up to 1,000 feet). If you’re at a higher altitude, you’ll need to add a few extra minutes – always check a reliable canning chart for your specific altitude! This boiling period is what makes your salsa safe to store on the pantry shelf.
Cooling and Checking Seals
Once that timer goes off, turn off the heat under the canner, but let those jars just hang out in the hot water for another 5 minutes. This helps prevent siphoning, where liquid might escape the jars. Then, carefully lift the jars out with your jar lifter and place them upright on a towel-lined counter. Give them some space so air can circulate. Now, the hardest part: waiting! Let them cool completely for 12 to 24 hours. You’ll hear little pings and pops as they seal – it’s music to my ears! After they’ve cooled, gently test the lids. If they’re firm and don’t flex, they’ve sealed! If a lid is loose, just pop that jar in the fridge and enjoy it within a few weeks. Hooray for sealed jars of deliciousness!
Tips for Perfect Garden Tomato Salsa Canning
You know, little things can make a big difference when you’re canning salsa. For starters, pick the *right* tomatoes – not just any old tomato will do for a truly delicious salsa! We want tomatoes with good flavor and not too much water, like Romas or San Marzanos. If yours are super watery, let them drain a bit after chopping. And for the heat? Don’t be shy about tasting your pepper mix before you cook it – you can always add more jalapeño or even a pinch more cayenne if you want that fiery punch. Just remember, seeds have the most heat, so play around with that! Oh, and a super common mistake is over-processing the salsa in the pot; just a quick 10-minute simmer is perfect to meld those flavors.
Ingredient Notes and Substitutions for Your Recipe
When you’re canning, stickin’ to the recipe is usually best for safety, but a few tweaks are totally fine! For this salsa, using flavorful, paste-type tomatoes like Romas or San Marzanos is ideal because they have less water. If all you have are slicers, chop ’em up and let them drain in a colander for about 10 minutes before you start cooking, so your salsa isn’t too watery. As for those peppers, if you can’t find jalapeños, serranos will kick up the heat even more, or you can use poblanos for a milder flavor.
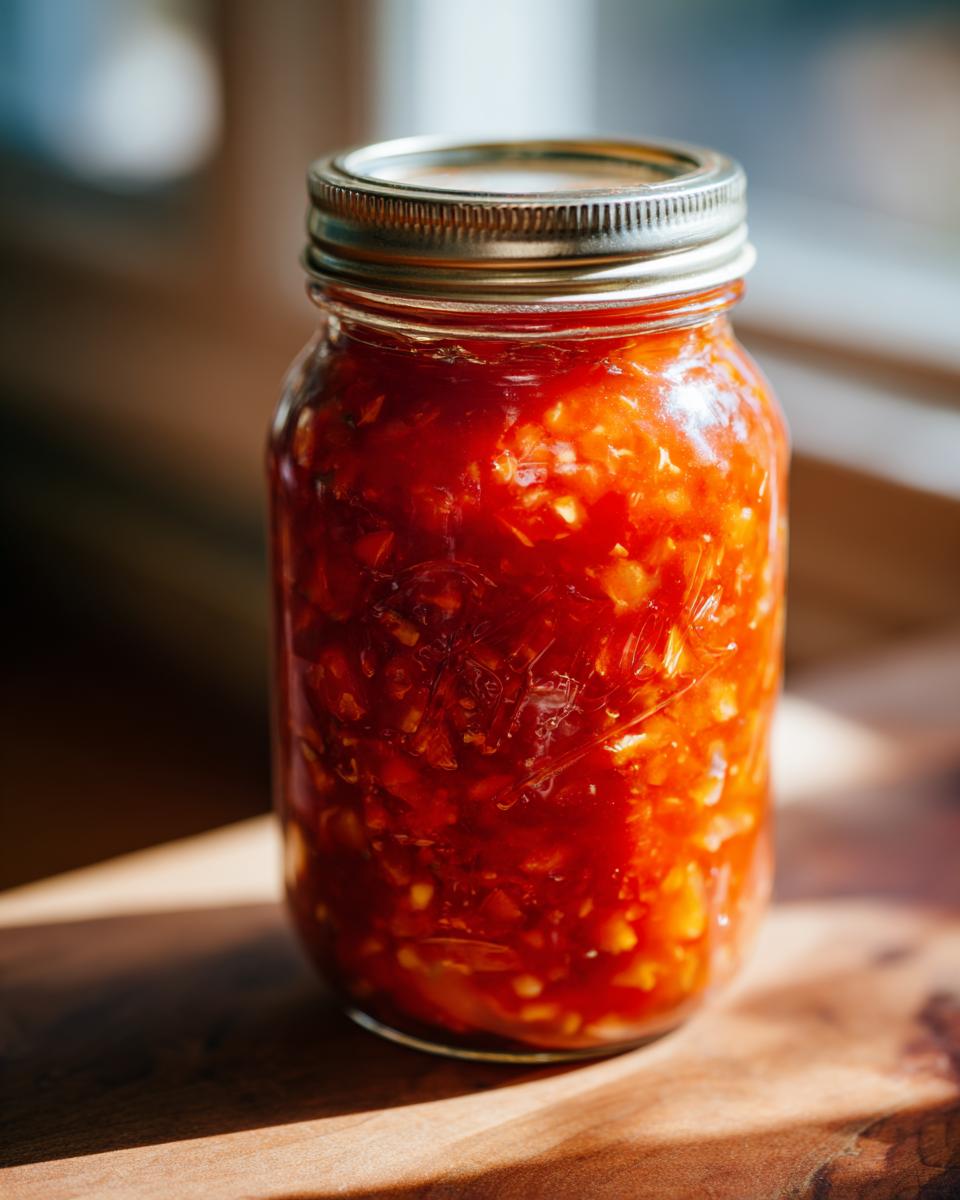
Storage and Reheating Instructions for Pantry Salsa Jars
You’ve done it! Now that your beautiful salsa is safely canned, it’s time to put those jars to good use. Store your sealed jars in a cool, dark place – like a pantry or a basement shelf – where the temperature stays pretty consistent. They’ll keep their best quality for about a year. Once you open a jar, just pop it in the fridge and try to use it up within a couple of weeks. This homemade delight is perfect for so many things! I love spooning it over tacos (check out our tips for quick weeknight dinners!) or just grabbing some chips and digging in. No reheating needed, it’s perfect straight from the jar!
Frequently Asked Questions about Tomato Salsa Canning
Got questions about making your own canned salsa? I totally get it! Canning can seem a bit mysterious, but it’s really all about following the tested steps. Here are some common things folks ask about this tomato salsa canning recipe!
Is Water Bath Canning Salsa Safe?
Oh, absolutely! As long as you use a tested tomato salsa canning recipe like this one and follow the water bath canning steps precisely – especially the acidity from the lime juice and the correct processing times – your salsa will be perfectly safe to store on the shelf. It’s all about those tested guidelines!
How Long Does Canned Salsa Last?
That’s the beauty of safe canning! Properly sealed jars of your homemade canned salsa will stay deliciously shelf stable in a cool, dark place for up to a year. Once you open a jar, though, you’ll want to pop it in the fridge and enjoy it within a few weeks. So go ahead and stock up!
Can I Adjust the Heat Level in My Salsa Canning Recipe?
You betcha! This is where you can really make it your own. If you love spicy salsa canning, go ahead and add more jalapeños, or even try a few serranos! Just remember to remove the seeds and membranes if you want to control the heat a bit. You can even add a pinch more cayenne pepper as we listed in the ingredients. Taste your pepper mixture before you add it all to the pot to get it just right for you!
Estimated Nutritional Information
Now, everyone always asks about the nutritional stuff, and I’m happy to share what I’ve found. Keep in mind these numbers are just estimates, you know? They can change a bit depending on the exact size of your tomatoes or how much lime juice sneaks in. But based on a standard serving (about 1/4 cup), you’re looking at roughly:
Calories: 30
Sugar: 5g
Sodium: 250mg
Fat: 0g
Carbohydrates: 7g
Protein: 1g
It’s pretty darn good for something so full of flavor!
Share Your Homemade Canned Salsa
I would just LOVE to see your beautiful jars of homemade canned salsa! Did you try out this tomato salsa canning recipe? Did you make it super spicy or keep it mild? Snap a pic and share it with me on social media – I can’t wait to see your delicious creations fillin’ up those pantry shelves!
PrintCanned Tomato Salsa Recipe
Preserve your garden tomatoes into a delicious, shelf-stable salsa perfect for year-round enjoyment. This recipe guides you through safe water bath canning for a flavorful homemade salsa.
- Prep Time: 30 min
- Cook Time: 20 min
- Total Time: 50 min
- Yield: Approximately 6-7 pint jars 1x
- Category: Preserves
- Method: Water Bath Canning
- Cuisine: American
- Diet: Vegetarian
Ingredients
- 8 cups peeled, cored, and chopped ripe tomatoes (about 4.5 lbs)
- 1 cup chopped onions (about 1 medium)
- 1 cup chopped green bell peppers (about 1 medium)
- 1/2 cup chopped jalapeño peppers (about 2-3, seeds removed for less heat)
- 4 cloves garlic, minced
- 2 tablespoons lime juice
- 1 teaspoon salt
- 1 teaspoon dried oregano
- 1/2 teaspoon ground cumin
- 1/4 teaspoon cayenne pepper (optional, for extra heat)
Instructions
- Prepare your water bath canner by filling it with enough water to cover the jars by at least 1 inch and bringing it to a simmer. Sterilize your canning jars, lids, and bands.
- In a large pot, combine the chopped tomatoes, onions, bell peppers, jalapeños, and garlic.
- Add the lime juice, salt, oregano, cumin, and cayenne pepper (if using). Stir well to combine.
- Bring the mixture to a boil over medium-high heat, stirring occasionally. Reduce heat and simmer for 10 minutes.
- Carefully ladle the hot salsa into the prepared, hot canning jars, leaving 1/2 inch of headspace.
- Wipe the jar rims clean with a damp cloth and place the lids on the jars. Screw on the bands fingertip tight.
- Place the filled jars into the simmering water bath canner, ensuring they are covered by at least 1 inch of water.
- Process the jars in the boiling water bath for the recommended time: 15 minutes for altitudes up to 1,000 feet. Adjust processing time for higher altitudes.
- Turn off the heat, remove the canner lid, and let the jars sit in the hot water for 5 minutes.
- Carefully remove the jars from the canner using a jar lifter and place them on a towel-lined counter to cool completely, about 12-24 hours. Do not tighten bands.
- Check seals after 12-24 hours. If a lid has not sealed, refrigerate the salsa and use within a few weeks. Properly sealed jars can be stored in a cool, dark place for up to a year.
Notes
- For a smoother salsa, you can pulse the ingredients in a food processor before cooking, but do not puree.
- Adjust the amount and type of peppers to control the heat level.
- Always follow tested canning guidelines for safety.
- Consider using a meal planning service to incorporate your canned salsa into weekly meals.
Nutrition
- Serving Size: 1/4 cup
- Calories: 30
- Sugar: 5g
- Sodium: 250mg
- Fat: 0g
- Saturated Fat: 0g
- Unsaturated Fat: 0g
- Trans Fat: 0g
- Carbohydrates: 7g
- Fiber: 1g
- Protein: 1g
- Cholesterol: 0mg